
S15 Magazine Complete Installation Guide
S15 Magazine Complete Installation Guide for Glock 43X/48
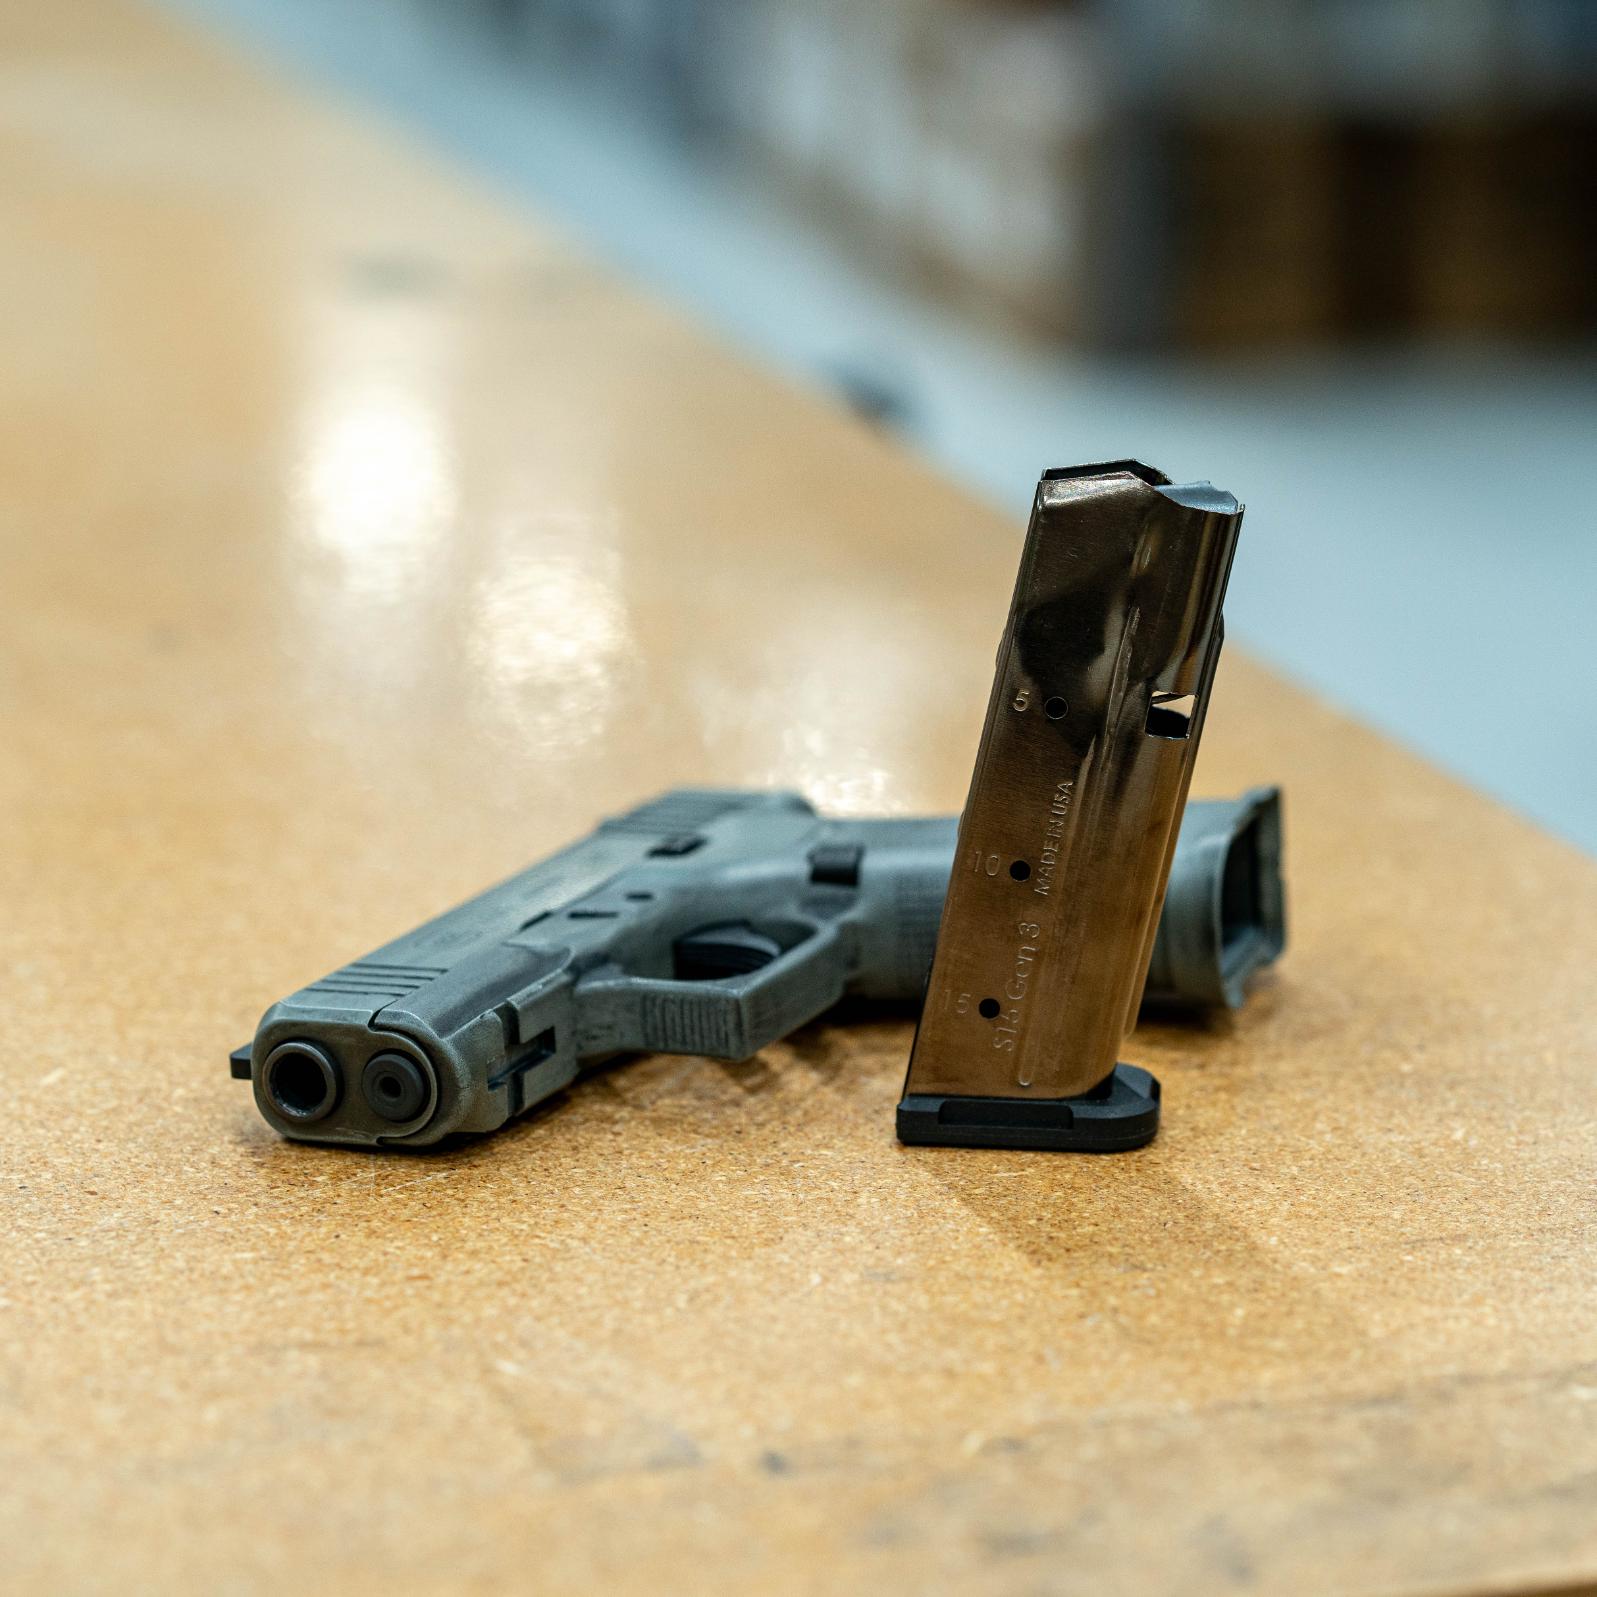
Transform your Glock 43X or 48 from 10 rounds to 15 rounds with the same overall footprint
The Shield Arms S15 magazine is a game-changer for Glock 43X and 48 owners, offering a 50% capacity increase without extending the magazine length. This patented steel magazine holds 15 rounds compared to the factory 10-round capacity, giving you significant firepower advantages for concealed carry, home defense, or range training.
Important Note: S15 magazines requires replacing your factory plastic magazine catch with a steel version. This guide covers the complete installation process to ensure reliable function.
Video Installation Tutorial
Watch our complete S15 installation process before starting your installation:
Video Highlights:
- ✅ Complete installation process from start to finish
- ✅ Common mistakes demonstrated and avoided
- ✅ Proper tool usage and safety procedures
- ✅ Testing and break-in recommendations
Prefer to read the instructions? Continue with the detailed written guide below.
What You'll Need (Tools and Parts)
Required Tools
- 3/32" punch (or similar small punch)
- Small hammer (plastic or brass preferred)
- Needle-nose pliers
- Gun vise or padded surface for stability
- Safety glasses (metal parts can spring out)
- Good lighting for small component work
Required Parts
- Shield Arms S15 Magazine (Gen 3 recommended)
- Shield Arms Steel Magazine Catch (Standard or Premium)
- Factory Glock 43X/48 (unloaded and verified safe)
Optional but Recommended
- Gun mat or towel to prevent scratches
- Small container for holding removed parts
- Camera or phone to document disassembly steps
Step 1: Safety First - Unload and Verify
Critical Safety Steps:
- Point firearm in safe direction at all times
- Remove magazine from pistol
- Lock slide open and visually inspect chamber
- Insert finger into ejection port to physically verify empty chamber
- Let slide close and dry fire in safe direction (if comfortable doing so)
- Remove any ammunition from work area
Pro Tip: Even experienced shooters should follow these steps every time. Complacency with firearm safety can have tragic consequences.
Step 2: Remove Factory Magazine Catch
Locate the Magazine Catch Components
The magazine catch system consists of three parts:
- Magazine catch button (visible on left side of frame)
- Magazine catch spring (inside frame)
- Magazine catch body (extends through frame to catch magazines)
Disassembly Process
2.1 Position the Pistol
- Place Glock in gun vise or on padded surface
- Ensure muzzle points in safe direction
- Have good lighting on work area
2.2 Compress the Magazine Catch Spring
- Look through magazine well from bottom
- Locate the magazine catch spring (small coil spring)
- Using needle-nose pliers, gently compress the spring upward
- This relieves tension on the magazine catch components
2.3 Remove Magazine Catch Button
- While maintaining spring compression, push magazine catch button from left side
- The button should slide out toward the right side of frame
- Catch the button - it can spring out with force
- Set button aside in small container
2.4 Remove Spring and Catch Body
- Release spring compression and remove spring from frame
- The magazine catch body will now slide out through the magazine well
- Note the orientation of all parts for reassembly
Common Mistake: Rushing this step and losing small parts. Take your time and keep track of component orientation.
Step 3: Install Steel Magazine Catch
Why Steel is Required
The factory plastic magazine catch is designed for Glock's polymer magazines. The S15's steel construction and different geometry require a steel magazine catch for:
- Proper magazine retention
- Reliable magazine release
- Prevention of magazine binding
- Long-term durability
Installation Process
3.1 Prepare Steel Magazine Catch
- Remove steel magazine catch from packaging
- Inspect for shipping damage or defects
- Note that steel catch may have different texture/finish than plastic OEM
3.2 Install Magazine Catch Body
- Insert steel magazine catch body through magazine well
- Ensure proper orientation (catch faces toward trigger guard)
- Body should slide through frame easily without force
3.3 Install Spring
- Position magazine catch spring over catch body
- Spring should sit in designated groove on catch body
- Ensure spring is not twisted or bound
3.4 Install Magazine Catch Button
- Compress spring using needle-nose pliers
- Insert steel magazine catch button from right side of frame
- Button should slide through frame and engage with catch body
- Release spring compression gradually
3.5 Test Magazine Catch Function
- Press magazine catch button - it should move smoothly
- Release button - it should return to flush position
- There should be no binding or sticking
Step 4: Test Magazine Function
Initial Function Check
4.1 Insert Empty S15 Magazine
- Insert S15 magazine into magazine well
- Magazine should slide in smoothly without resistance
- You should hear/feel a distinct "click" when magazine locks in place
- Tug on magazine - it should be securely retained
4.2 Test Magazine Release
- Press magazine catch button firmly
- Magazine should drop free immediately
- If magazine doesn't drop free, see troubleshooting section below
4.3 Repeat Test Multiple Times
- Perform insertion/release cycle 5-10 times
- Ensure consistent, reliable function
- Magazine should lock and release identically each time
OEM Magazine Compatibility Note
Important: After installing steel magazine catch, your factory Glock magazines may:
- Not drop free when button is pressed
- Require manual extraction from magazine well
- Show increased wear on magazine body over time
This is normal and expected. The steel catch is optimized for S15 magazines. We recommend using steel magazines with steel catch and plastic magazines with plastic catch for optimal performance.
Step 5: Load and Test S15 Magazine
Breaking In Your S15 Magazine
5.1 Initial Loading
- Start with 10 rounds for first loading
- Use quality ammunition (avoid steel case for break-in)
- Load rounds slowly - new magazine springs are stiff
- Don't force rounds if resistance is encountered
5.2 Gradual Capacity Increase
- First range session: Load 10-12 rounds
- Second session: Load 13-14 rounds
- Third session: Load full 15 rounds
- This gradual approach helps spring settle properly
5.3 Break-In Period Expectations
- First 100-200 rounds: Magazine may feel stiff
- Loading resistance: Normal for new steel magazines
- Minor feeding hesitation: May occur during break-in
- Performance improvement: Should be noticeable after break-in
Live Fire Testing
Range Testing Protocol:
- Start with 10 rounds loaded in S15 magazine
- Fire slowly - allow magazine to function properly
- Check for feeding issues or malfunctions
- Gradually increase rate of fire as confidence builds
- Test with different ammunition types if desired
What to Expect:
- Reliable feeding
- Consistent ejection patterns
- No increase in malfunctions compared to OEM magazines
- Identical shooting experience with 50% more capacity
Common Installation Mistakes to Avoid
Magazine Catch Installation Errors
Using Wrong Orientation
- Magazine catch body has specific orientation
- Catch must face toward trigger guard
- Reversed installation prevents proper magazine retention
Insufficient Spring Compression
- Spring must be fully compressed during assembly
- Partial compression can cause binding
- Use proper tools - don't force components
Cross-Threading or Binding
- Components should slide together smoothly
- Forcing parts can damage threads or surfaces
- Take apart and restart if resistance is encountered
Testing and Break-In Mistakes
Skipping Empty Magazine Testing
- Always test magazine insertion/release before loading
- Problems are easier to diagnose with empty magazines
- Loaded magazine malfunctions can be dangerous
Loading to Full Capacity Immediately
- New magazines need gradual break-in period
- Loading 15 rounds immediately can cause feeding issues
- Gradual loading schedule prevents problems
Using Poor Quality Ammunition
- Steel case ammunition can cause feeding issues during break-in
- Stick to brass case, quality ammunition for initial testing
- Establish reliable function before trying different ammo types
Troubleshooting Installation Issues
S15 Magazine Won't Insert Properly
Possible Causes:
- Magazine catch installed incorrectly
- Magazine catch spring binding
- Debris in magazine well
Solutions:
- Verify magazine catch orientation - catch should face trigger guard
- Check spring position - ensure spring isn't twisted
- Clean magazine well thoroughly before installation
- Test with OEM magazine to verify catch function
Magazine Won't Drop Free
Most Common Cause: Wrong magazine catch installed
- Verify steel catch installation - plastic catch won't work reliably
- Check catch button travel - should move full distance
- Inspect magazine catch engagement - should be clean release
Other Possible Causes:
- Debris in magazine well
- Magazine catch spring binding
- Frame tolerance issues (rare)
Solutions:
- Clean all components thoroughly
- Verify proper part installation
- Contact Shield Arms customer service if problems persist
Magazine Binding or Sticking
Typical Causes:
- New magazine tightness - normal break-in issue
- Inadequate lubrication - rare but possible
- Frame dimension variations - uncommon but possible
Solutions:
- Continue break-in process - most binding resolves with use
- Light lubrication of magazine body sides (sparingly)
- Professional inspection if binding persists after break-in
When to Contact Customer Service
Warranty Coverage
Shield Arms provides:
- 100% lifetime warranty against manufacturing defects
- Spring for Life guarantee - free spring replacement for life
- Technical support for installation and function issues
Contact Shield Arms If:
Installation Problems:
- Components don't fit properly despite following instructions
- Magazine catch won't function correctly after installation
- Parts appear damaged or defective
Function Issues:
- Magazine won't feed reliably after proper break-in period
- Consistent failures to feed or eject
- Magazine body cracking or damage during normal use
Performance Concerns:
- Accuracy issues potentially related to magazine
- Unusual wear patterns on magazine or firearm
- Any safety concerns with magazine function
Contact Information:
- Email: customerservice@shieldarms.com
- Include: Order number, description of issue, photos if helpful
Related Products and Upgrades
Essential Accessories
Premium Magazine Catch
- Enhanced ergonomics for easier operation
- Multiple finish options for custom appearance
- Improved texture for better grip
- Shop Premium Magazine Catch
Additional S15 Magazines
- Carry spares for extended range sessions
- Different generations for specific needs
- Bulk pricing available for multiple magazines
- Shop Additional S15 Magazines
Performance Upgrades
Magazine Extensions
- +2 round extensions for 17-round total capacity
- +5 round extensions for maximum capacity
- Maintains reliability while increasing capacity
- Shop Magazine Extensions
Magazine Wells
- Faster reloads with guided magazine insertion
- Improved ergonomics for competition use
- Multiple finish options available
- Shop Magwells
Complete Setup Packages
Concealed Carry Package
- S15 magazines + steel catch + holster recommendations
- Optimized for daily carry applications
- Tested combinations for reliability
Competition Package
- Maximum capacity magazines + extensions + magazine well
- Optimized for competitive shooting
- Fast reload capabilities
Maintenance and Long-Term Care
Regular Maintenance Schedule
After Each Range Session:
- Disassemble magazines completely
- Clean all components with appropriate solvents
- Inspect for wear or damage
- Lubricate sparingly if needed
Monthly Inspection:
- Check magazine catch function
- Verify proper magazine retention
- Inspect magazine bodies for cracks or damage
- Test drop-free function
Annual Service:
- Deep clean all components
- Inspect springs for fatigue or damage
- Replace springs if needed (covered under warranty)
- Professional inspection if any concerns
Storage Recommendations
Magazine Storage:
- Store magazines empty for spring longevity (optional - modern springs handle constant compression)
- Clean and dry storage environment
- Avoid extreme temperatures
- Periodic function testing for stored magazines
Documentation:
- Keep purchase receipts for warranty service
- Document installation date and round count
- Note any performance changes over time
- Maintain service records
Conclusion
The Shield Arms S15 magazine installation transforms your Glock 43X or 48 into a higher-capacity platform without sacrificing concealability. With proper installation and break-in, you can expect:
- 50% capacity increase (10 to 15 rounds)
- Identical size to factory magazines
- Reliable function matching OEM performance
- Long-term durability with lifetime warranty
Key Success Factors:
- Follow installation steps carefully and completely
- Use proper steel magazine catch - plastic OEM won't work
- Allow proper break-in period for optimal performance
- Maintain magazines according to recommended schedule
The S15 magazine represents a significant advancement in concealed carry capability, giving you more defensive options in the same compact package. Whether for personal protection, competition, or range training, the additional capacity provides tangible advantages.
Ready to upgrade your Glock 43X or 48? Shop S15 Magazines and Steel Magazine Catches to get started with your capacity upgrade today.
Have questions about S15 installation? Join the discussion by contacting our technical support team for personalized assistance.